


 I remember the day our classbook arrived like it was yesterday. It was my (and my students’) first classbook project, and from the moment we sent our manuscript off to be published, my students constantly asked me, “When’s our book coming? Is it here yet? Is it here?”
When I gathered them around me and held up the box, they cheered. I began to cut through the tape and they fell silent, staring with the sort of electric intensity only very excited children can muster. I will never forget the transformation in their expressions as the books were passed around—anticipation morphing in a matter of seconds into profound glee and awe, with pride following close behind. I was proud, too—both of my students and of the role I got to play in helping them become published authors.
My students and I learned a lot that first year—not just about the subject we wrote about, but about the process of publishing a classbook as well. And every year, I learn a little more! Most of all, I’ve come to realize that whether you’re publishing your first classbook project or your fifteenth, there are a few things you should always keep in mind…
DO: Select Appropriate Tools and Materials
Ensuring the quality of your final book isn’t just up to the publisher—choosing the right materials and tools during the process of creating your drafts can make a huge difference!
- Pencils are for brainstorming and first drafts; for the final manuscript of your classbook, you need something a little bolder. Writing in black ink gives the best results when it comes to printing student handwriting, while for illustrations, bright (but not neon) washable markers are the preferred choice. Similarly, tape doesn’t always hold well and can ruin a good photo or collage—if you plan to attach images to your pages by hand, use a glue stick!
- Consider early on whether a paper kit or a digital platform will better serve your project. Paper kits are great for young students with minimal technical skills or classrooms with limited access to computers. Using the online bookmaker, on the other hand, allows you or your students to upload images directly to the book and even allows for digital illustrations.
DON’T: Forget To Make Copies of Photos/Collage Materials
I’ve always taken extra care with this step, as it’s one of the most important to remember and can also be one of the easiest to forget. Never send original copies of photographs, collage materials, or anything you or your students can’t stand to part with! Any original materials sent along as part of the book will stay with the publisher.
- One easy way to avoid this is to include a revision step when planning out your project. Not only is this the perfect opportunity for your students to practice their editing and proofreading skills, it also means you will automatically have at least one copy of their work to keep after you ship your manuscript.
- The same goes for any art your students create for your classbook. Never glue original photographs to pages without making duplicates, and always remember to scan or photograph any drawings if you don’t want to lose the originals.
- Creating your book online is also a good way to avoid an oversight here, as any physical artwork will just be scanned into the program, meaning there’s no danger of accidentally sending in the original.
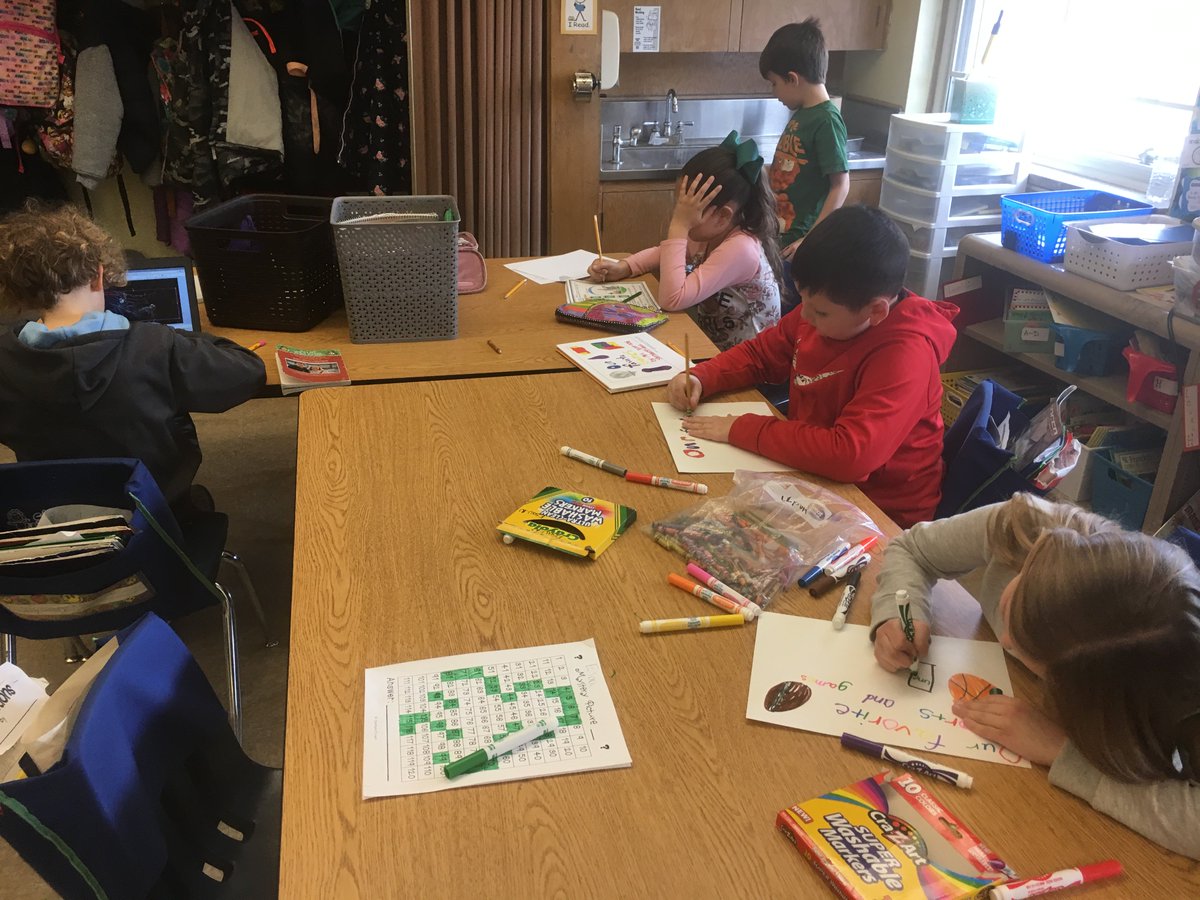
Mrs. Sternberg’s #proudauthors work hard on creating their classbook!
DO: Get Creative with the Formatting
Publishing kit templates have only minimal guidelines for a reason. You and your students are free to be be as creative as you like when it comes to your book—not just in terms of the content, but the formatting as well! While certain basic guidelines should be followed to achieve the best results—such as leaving a 1/4” border around the edges of every page—the look and feel of your book presents yet another opportunity to inspire your students to think outside of the box.
- Consider the overall design of your classbook before you start drawing. Creating your book online gives you and your students access to a wide variety of fonts and clipart, as well as a number of preformatted templates to get you started. You can also edit formatting across the book with just a couple of clicks. Paper kits, meanwhile, allow for a more personal touch and showcase each student’s unique handwriting and art. There are a variety of kits available, including a kit with blank pages for maximum creativity.
- You shouldn’t judge a book by its cover—but you should make sure your book’s cover is worthy of its contents. Don’t be afraid to experiment with different book cover ideas, including using photographs, collages or even a collaborative illustration.
- Easily overlooked sections, such as the author bios and dedication pages, need love too! Try brainstorming ideas with your students on how to make these pages shine as brightly as the rest of your content to really make your classbook stand out.
Are you Enjoying this Content?
DON’T: Get Stressed Out
After spending time and energy planning and scheduling this project, it can be easy to start sweating the small stuff. Don’t! It might not be perfect, but small mistakes or silly sentences can make a classbook extra special and capture precious moments in time. It’s all part of the creative journey. Publishing a book does require work, but that doesn’t mean it can’t also be fun—both for your students and for you!
- Practice makes perfect! And if you mess up, no worries! You can always download replacement materials online for free.
- If you spot last-minute errors that need fixing before you send your manuscript to print and don’t have other, better options, you can use white-out. Just take care to use it sparingly, and always use correction tape white-out rather than the liquid version if possible.
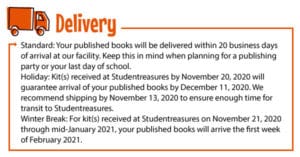
- Make your schedule as flexible as you can to accommodate unexpected delays. If you still find you need more time than you originally scheduled in order to finish your project before publishing it, don’t panic! You can always change your publishing date. Just be sure to allow 20 business days after your books arrive at Studentreasures!
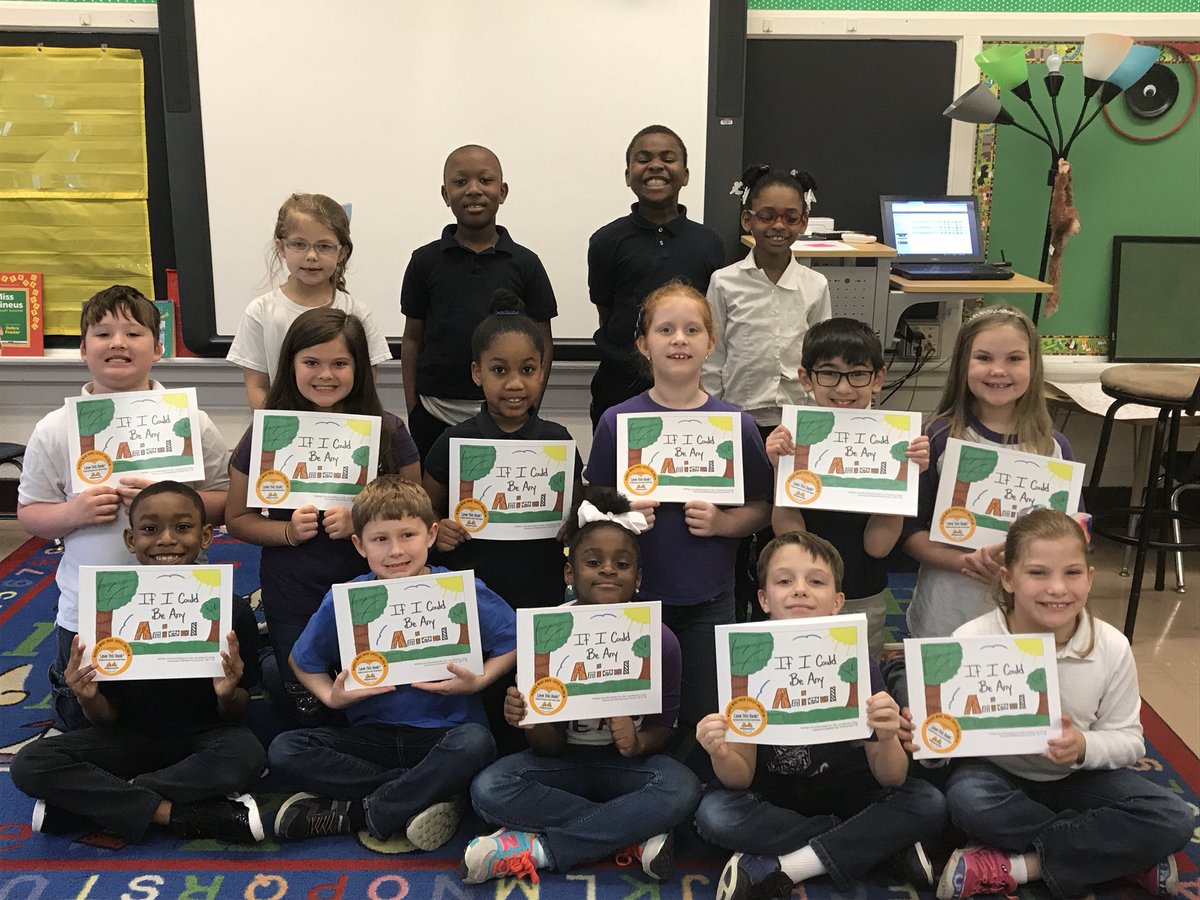
Mrs. Elizabeth’s #proudauthors pose with their new books for a class pic!
Helping Your Elementary Students Publish Their Very Own Book
The publishing process is a thrilling adventure. Of course, at first glance, it can also seem like a big project. It wouldn’t be an adventure if it didn’t! But like many things in life, publishing a classbook is easier than it sounds. Selecting the right tools and materials, making copies, experimenting with formatting and keeping calm can go a long way towards making your publishing journey go smoothly.
Before you know it, you’ll be gathering your students around you and opening that special box. Your students’ joyous reaction when they get their first peek at their new book is always a memorable moment, no matter how many classbooks you’ve published. It’s still the thing I look forward to most every year.
For more free writing and publishing resources for your classroom, check out our online teacher’s lounge, and sign up for your free publishing kit today!
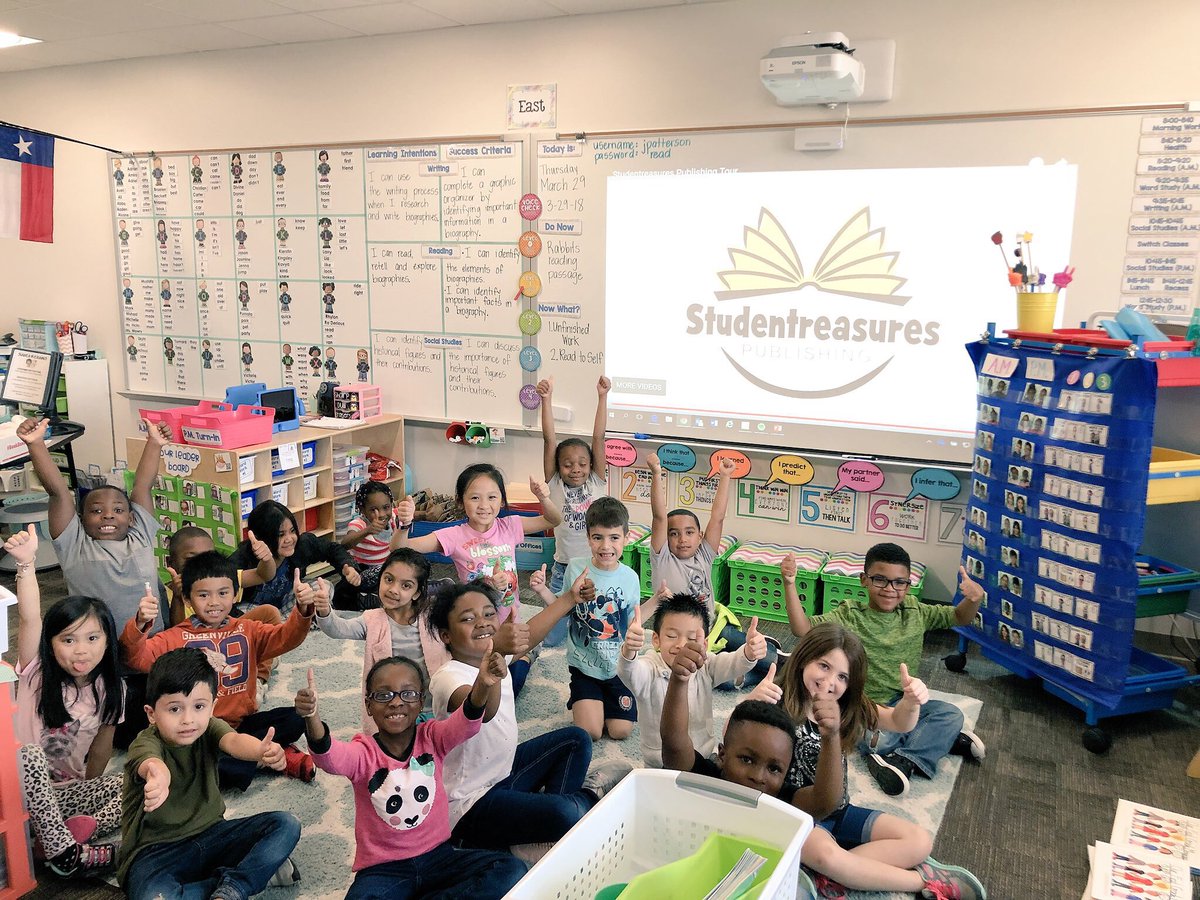
Image Sources: Lead Image, Images , 1, 2 via Twitter